In this photo slide, we will be presenting you with the latest Samsung mobile phone from our perspective. Our aim is to provide service technicians with a clear layout of the phone's components to assist with disassembling and assembling the phone, as well as displaying new original parts for repair. We highly recommend using original parts and following the prescribed conditions of servicing to ensure the correct operation of both the replaced parts and the device. Our goal is to provide guidance to beginners in servicing and inform experienced repairers about possible omissions or defects in the part replacement process.
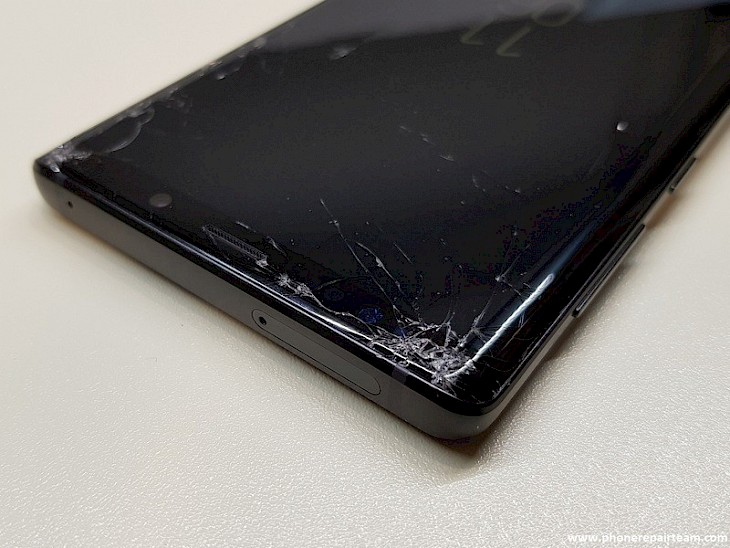
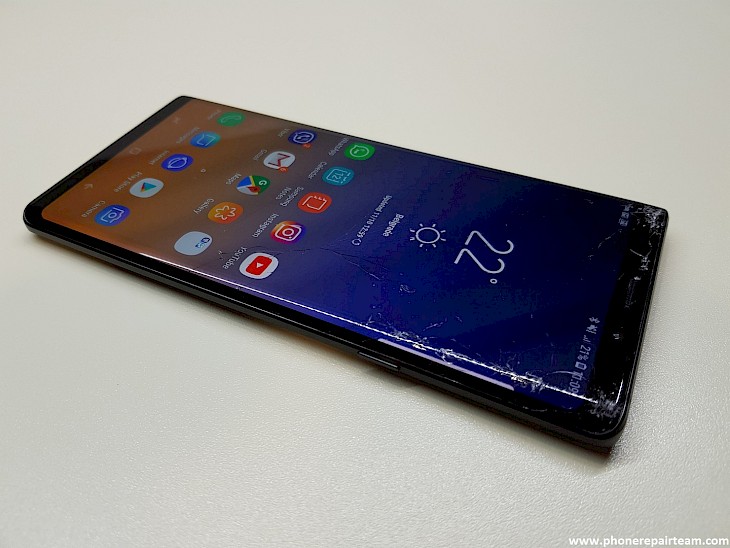
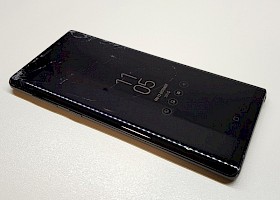
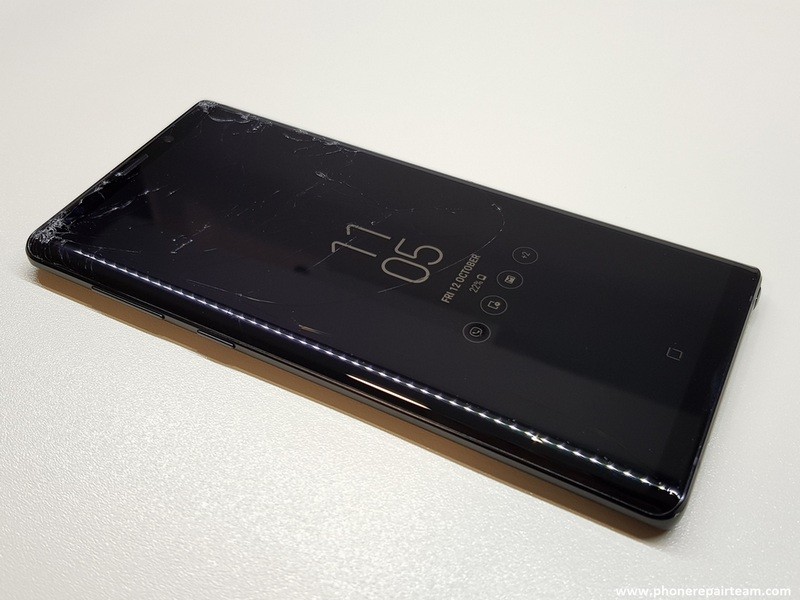
The first few photographs in our presentation show a phone with physical damage to the touch panel or glass, as it is commonly known by users. The glass typically breaks when the phone falls on a hard surface. In such cases, the manufacturer recommends replacing the complete module that includes a metal housing, an LCD display, and the damaged glass.
Samsung has provided service procedures for replacing the damaged LCD display with a new one that comes with the enclosure, batteries, and a set of adhesive tape. This process restores the phone to its original condition and ensures it meets the IP68 standard (as shown in the picture below).
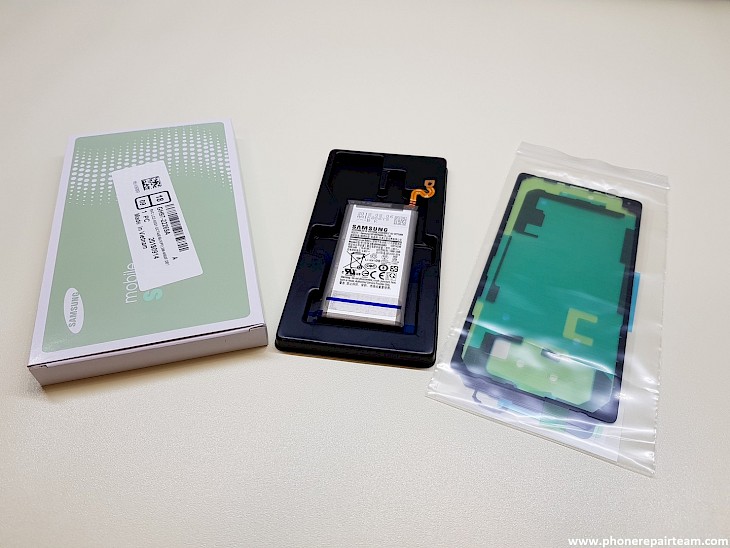
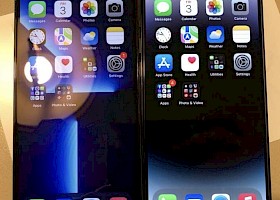
The image below displays the appearance of the new LCD display that comes in the service pack.
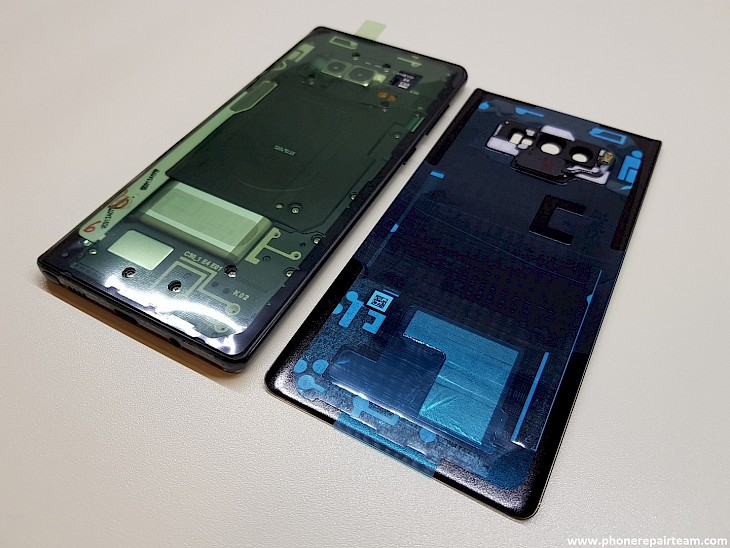
The figure below depicts the open Samsung Note 9 phone. Upon closer examination of the photo, you'll notice that the last part of the cover is separated without any damage or traces of opening, providing a clear view of the phone's interior. We highly recommend following the service procedures provided by the manufacturer and utilizing appropriate professional tools for repairing the phone. This ensures that the user's satisfaction is fulfilled with a high level of quality and the phone is returned to them in the same condition as before the damage occurred.
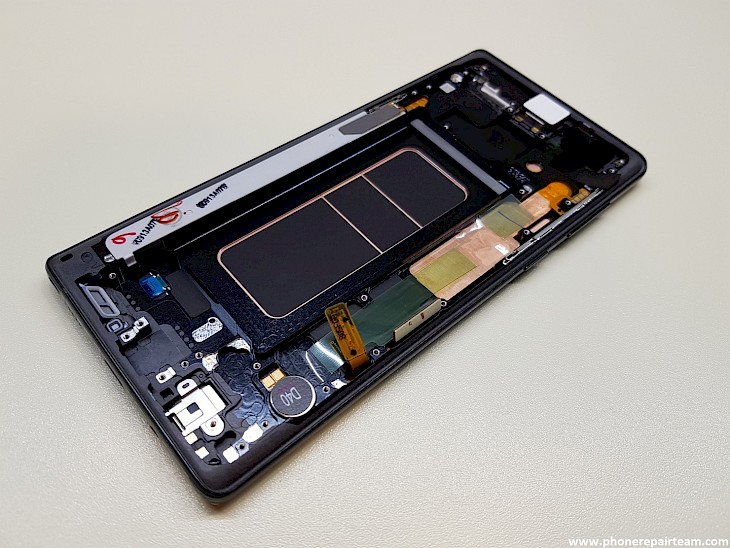
Phone appearance after unscrewing all the screws and removing the antenna from the back (picture below)
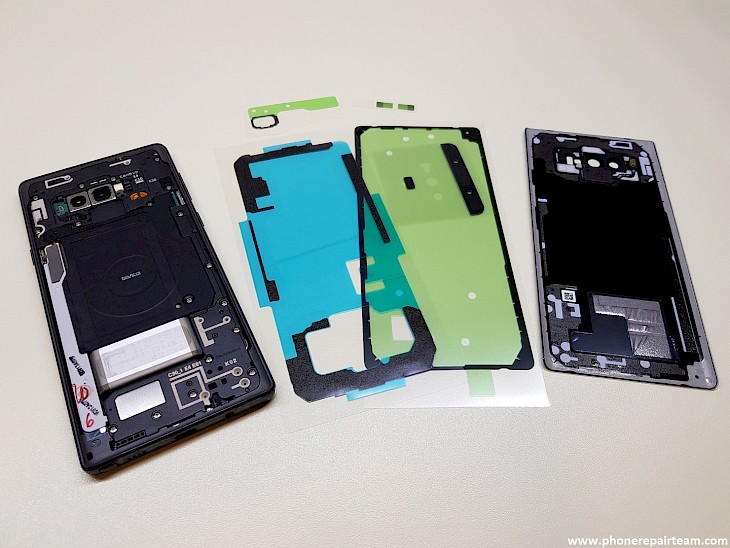
The figure below displays a Samsung Note 9 with its parts removed from the inside of the enclosure. The LCD, intended for replacement, is now released from the carrying parts and needs to be installed in the new LCD. When removing the baseboard, it's necessary to remove the SIM carrier and memory cards, disconnect all peripheral parts' connectors from the board, and disconnect the remaining screws (headset connector, USB connector module, and baseboard). It's important to pay special attention when removing the battery. The battery is highly sensitive to increased temperatures and sharp edges of tools. When separating the battery from the bay, use slightly elevated temperatures (80 degrees Celsius for up to 10 minutes), isopropyl alcohol, and a sharp-edged tool (a vacuum rubber can also be used). If the battery is damaged, a flame might ignite, and please note that ignited Li-Ion batteries can't be extinguished. Fire can only be eased by inserting a lit part into the sandbox. Therefore, pay special attention to this part of the repair to avoid injury.
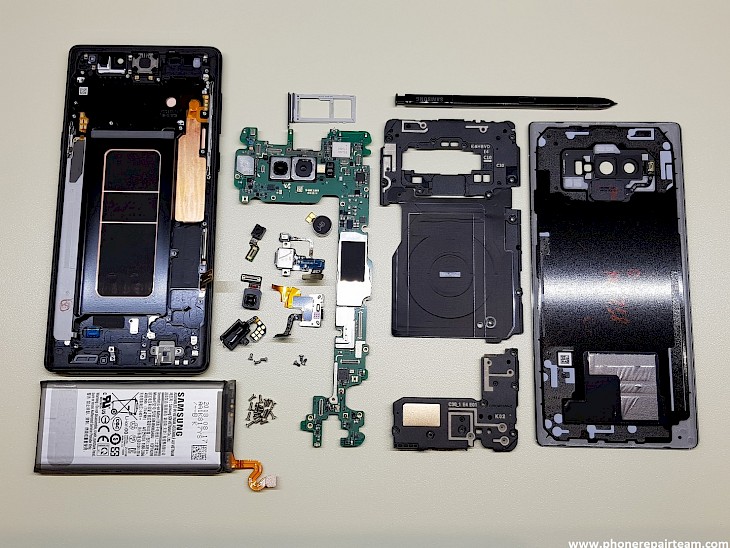
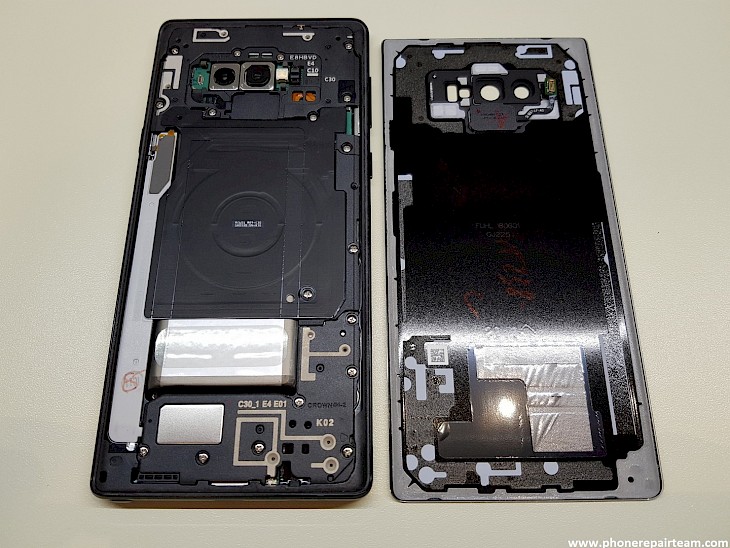
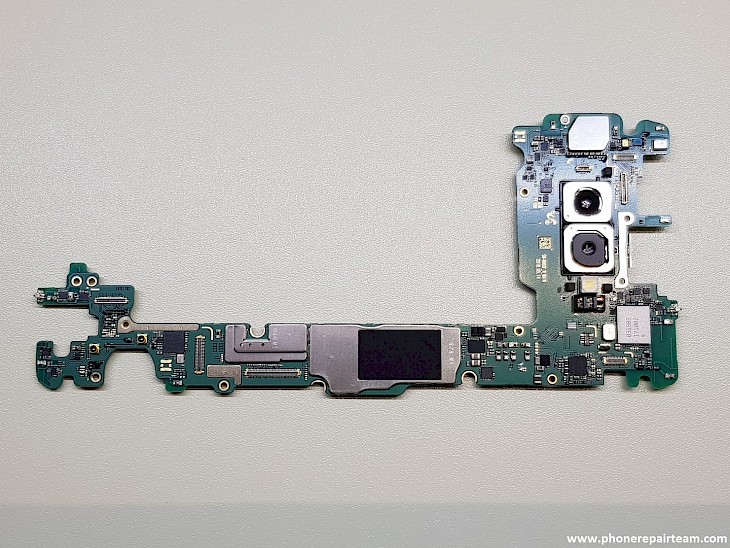
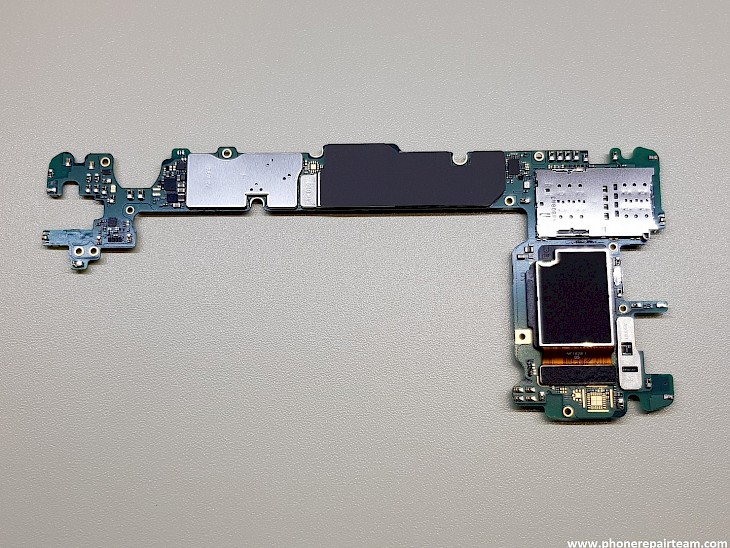
On this occasion, we won't delve into the architecture of the baseboard but instead show it to you from various angles in the picture below.
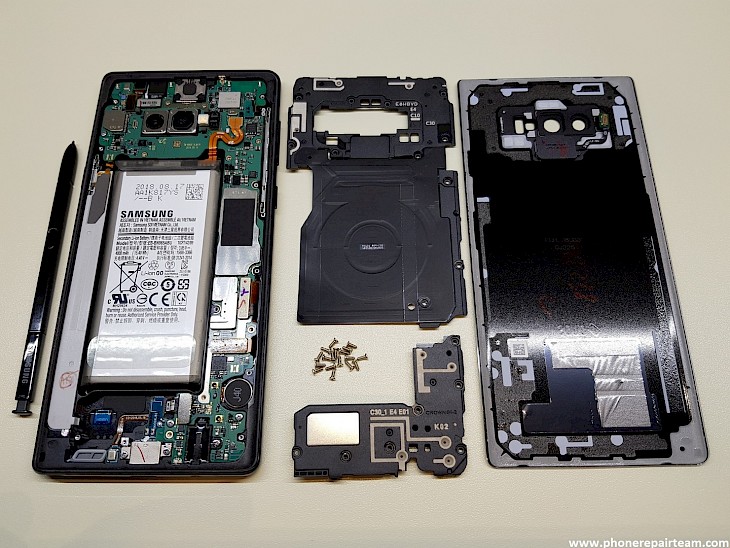
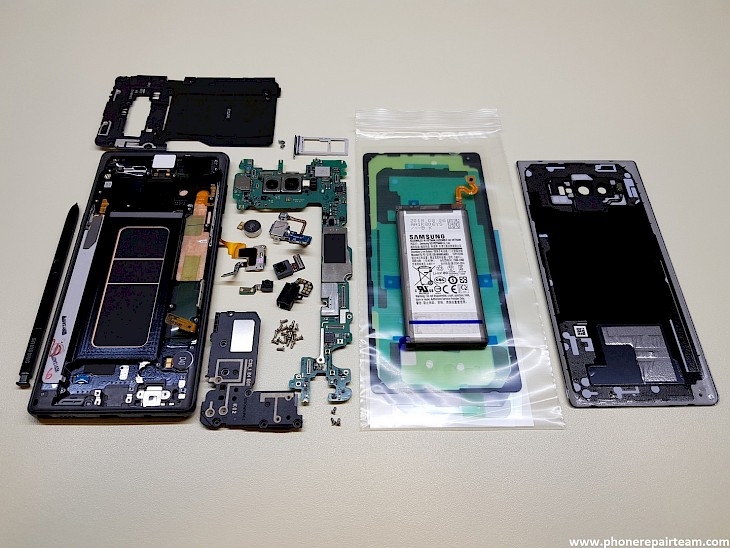
Next we present the look of the new LCD display, a set of adhesive tape and a new battery, as well as the rest of the phone parts. By completing all of these parts we get a repaired Note 9.
The order of returning parts when making the phone would be as follows:
1. Removing all protective foil from the inside of the new phone's case
2. Removing the module with the USB connector and microphone into the bay and returning both screws
3. Removing the head set connector into the bay and returning the screw
4. Removing the module with the sensors
5. Removing the base plate
6. Taking both front cameras
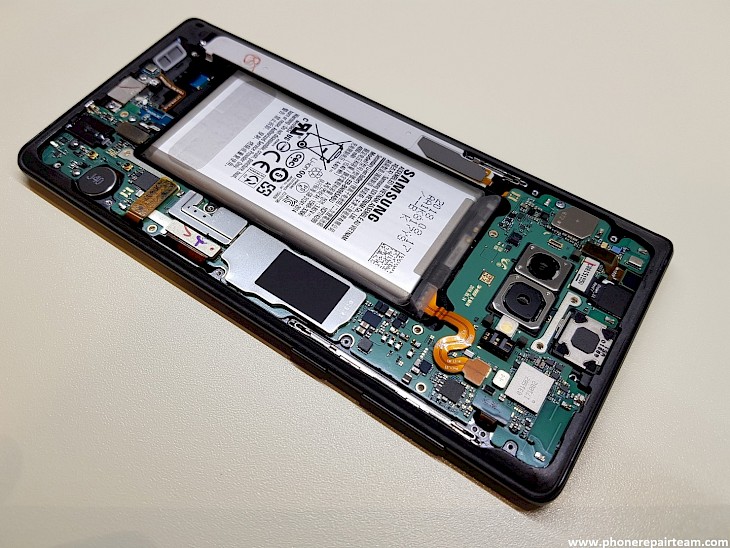
7. Connection of all connectors of peripheral parts and Lcd to the base plate
8. Removing the battery into the tray and connecting the battery connector to the base plate
9. Setting up all the antenna modules and restoring all screws in the order specified in the service instructions as well as tightening each of them by the specified torque tensile torque
10. Return the pen to the phone's housing duct
Practice has shown that it is advisable to test the phone before applying the adhesive tape and closing it. To avoid having to reopen the phone in case of any operational defect, we recommend performing a test first. After the test is completed, you can proceed to apply the adhesive tape on the back of the phone and inside the back masks (battery cover) by removing the remnants of the old adhesive tape. The surfaces to which the new adhesive tape is applied must be clean and dry.
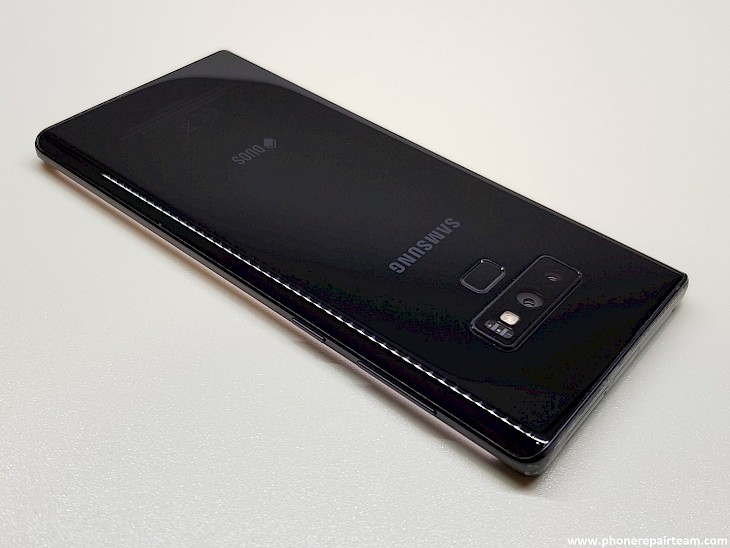
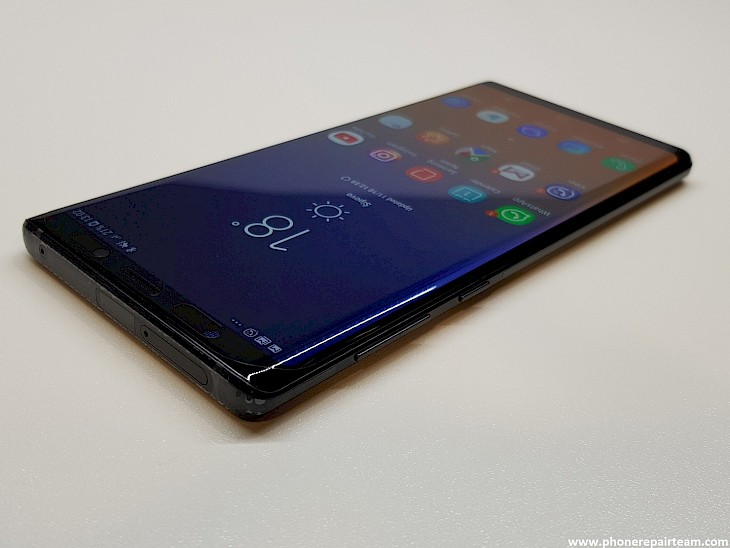
After removing the protective foil from the adhesive tape, place the back mask onto the back of the phone to close it. The following pictures showcase the repaired Note 9 phone.
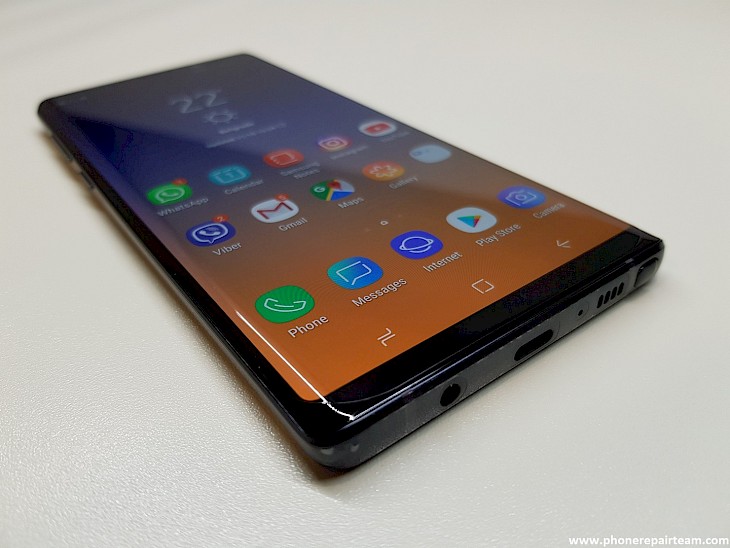
The advised practice is to conduct another short test of the phone after closing it by entering the test menu *#0*#. If the phone successfully passes the test, it can be finally closed under pressure in the mold and presses. Then, the latest version of the software is entered, the panel points and battery calibration are done, and the water resistance test is performed.
If the phone passes all these tests, it is ready to be returned to the user.
Sincerely,
Vladan Boksan/phonerepairteam
October 2018.